In recent years, I have followed and subscribed to numerous emerging travel bloggers who also share insights on food and culture. As a curious reader, I often wonder about their journey towards creating a successful blog or website. I am particularly interested in learning about their initial steps, such as acquiring a website and designing it effectively to showcase their writing and photography online.
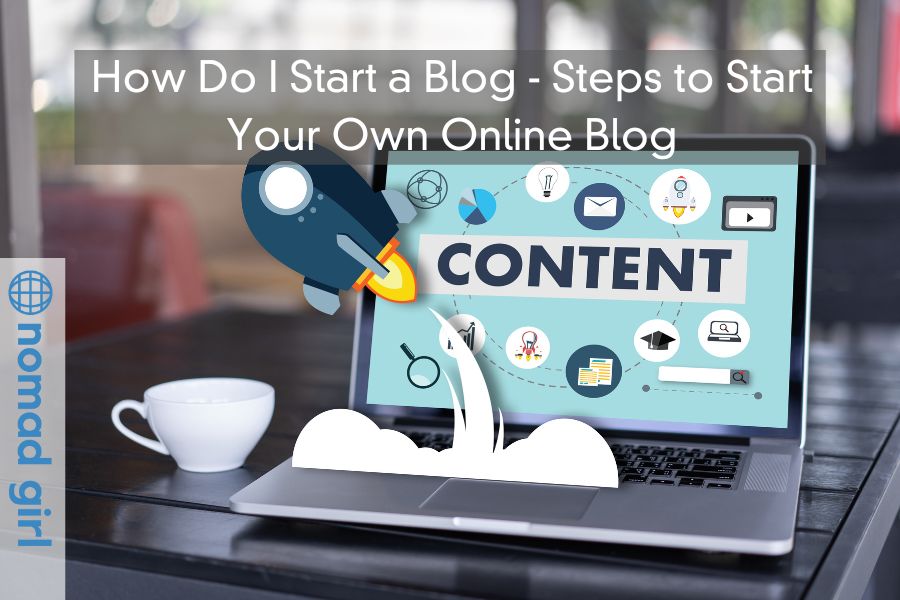
This post provides a step-by-step guide on how to create a website. Additionally, it includes information about a free blogging platform that is ideal for those who are just starting out.
Free Blogging
WordPress.com is an online platform that provides a community for bloggers to create and customize their own blogs. With a variety of free themes to choose from, users can easily design the layout of their blog. Additionally, WordPress.com allows bloggers to connect with each other and expand their audience. Through this platform, bloggers can discover other blogs that align with their interests and engage with other members of the community.
WordPress.com offers a user-friendly platform for creating a blog in just 30 minutes. The process involves signing up, choosing a blog name, selecting a theme, and uploading content. Users have the option to use a free domain name, such as [email protected]. However, if they prefer a custom domain name without WordPress in the address, such as [email protected], they can purchase a domain name for around $10-$15.
How I set up my blog
If you’re interested in starting your own website with a custom domain name, unique layout, theme, and reliable hosting, you may want to follow these steps that I used to set up my website.
After experimenting with wordpress.com, I managed to create some posts and attract a few followers. However, I soon realized that the platform had several limitations that didn’t align with my goals. To overcome these challenges, I decided to look for a hosting site that would allow me to create a website tailored to my needs. I researched and gathered information about the sign-up process, and eventually found a suitable hosting site to bring my vision to life.
When searching for a website host, I came across a company through Google ads displayed on my browser. Upon visiting their website, I found comprehensive information about their services and pricing. Additionally, they provided an online help chat feature which allowed me to easily ask any questions and receive prompt assistance on how to get started.
1. Find a host
To start building a website, the first step is to choose a website host. Website hosts offer monthly or yearly pricing options depending on the chosen plan. Once you select a host, you can choose from basic or advanced options with varying monthly prices. After selecting the basic option, you will be charged monthly for the hosting service for the duration of your chosen plan, which can range from one to three years. Additionally, you will need to select and register your own website address, or domain name, through the hosting website.
If you are interested in creating a website but have limited knowledge in website hosting, BlueHost is a great option to consider. This platform offers support for beginners, including frameworks, themes, and plugins installation. Additionally, BlueHost provides a 24/7 online chat that you can access for assistance or advice. With this feature, you can easily navigate the website creation process or even request the assistance team to do it for you.
2. Install WordPress
When setting up a website using WordPress, it’s important to understand the difference between wordpress.org and wordpress.com. WordPress.org offers more features and flexibility, but requires a hosting service to use. While the installation of WordPress.org is free, hosting services are not. On the other hand, WordPress.com is essentially free as it offers hosting services, but with limited features and customization options. Therefore, if you require more advanced features and control over your website, WordPress.org is the better option despite the cost of hosting.
3. Choose a framework and theme
To enhance my blog’s functionality, I decided to install a compatible framework for WordPress. A framework serves as the foundation for a website and provides necessary features such as security and templates. Once I installed the framework, I visited an online theme marketplace to purchase a theme that would suit my website’s needs and aesthetic. To simplify the website building process, think of it as building a car. Installing WordPress is akin to installing an engine, while the framework is like the car’s frame providing support and structure. Finally, the theme is like the car’s paint, adding visual appeal and personality to the website.
The author of the website utilized a customized theme to achieve their desired website design. This allowed for the author to modify elements such as fonts, headers, and item placement to create a website that met their specific preferences. However, the process of customizing the website was challenging for the author due to their lack of experience in this area. Despite this, the author was able to achieve their desired website design through the use of a highly customizable theme.
At first, I assumed that customizing my website’s theme would be a simple task. However, I soon realized that it was a more complex process than I had anticipated, and it took me several months to master it. Despite my initial struggles, I persevered in my efforts to customize my theme. Along the way, I sought advice from other experienced bloggers who had successfully created visually stunning websites.
According to their response, the website in question was designed by a professional website designer, which prompted me to search for similar services. I was surprised to find that a customised WordPress blog design typically costs around $2500 from recommended designers. Despite this, I decided to pursue designing my own website, and although it may not be as visually appealing as professionally designed websites, I take pride in creating it myself and am open to learning more about customising it in the future.
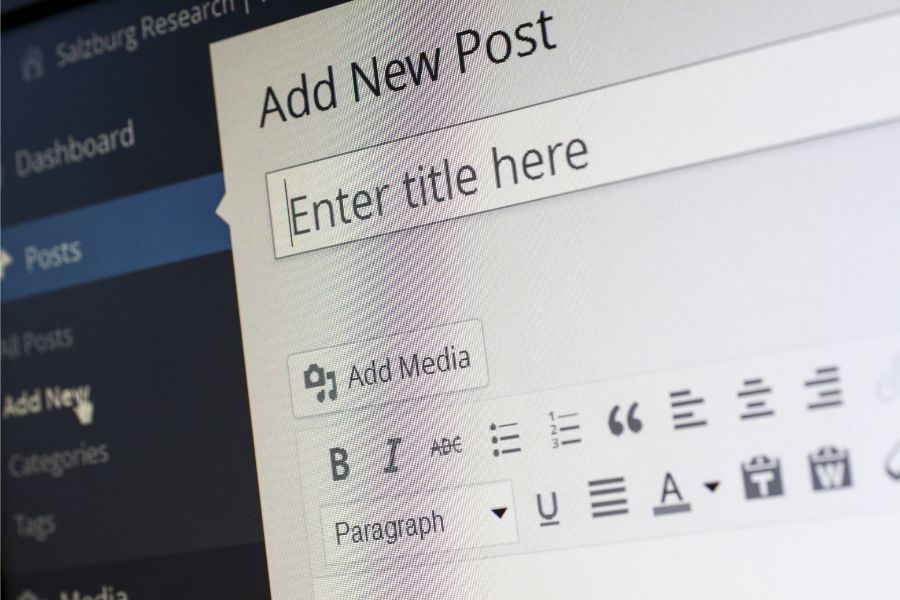
4. Content
Having spent several months learning the fundamentals of website customization, I felt confident enough to proceed with uploading content onto my WordPress site. Although I had already written several blog posts, I had to wait until my website was fully set up before I could publish them. Now, I am finally able to share my content with the world.
5. Plugins
One effective way to enhance the functionality of your website is by incorporating plugins. With the use of plugins, users can easily interact with your website by sharing your posts on popular social media platforms such as Facebook and Twitter. Upon realizing this, I decided to set up both a Facebook page and a Twitter account for my blog. Additionally, I installed Facebook and Twitter plugins on my website to further facilitate social media engagement.
As a WordPress blogger, there are numerous ways to connect with other bloggers and expand your reach. You can share your blog with fellow WordPress users and follow their blogs in return. Additionally, you can introduce your blog to your Facebook friends and share your posts on your Facebook page. Connecting with other bloggers can provide opportunities for collaboration and guest posting. You can also explore writing competitions and submit your blog posts for consideration. And, if you’re interested in contributing to other blogs, you can even write a post specific to their needs and become a contributor. The possibilities for expanding your blog’s reach are endless!
Never stop learning
Learning how to start a website and create engaging blog posts can be a daunting process, but there are many resources available to help you along the way. YouTube offers a vast array of video tutorials, while online blogging courses can provide comprehensive instruction in all aspects of blogging, including writing, photography, social media, advertising, networking, and earning income. If you encounter technical difficulties, most hosting providers offer online support options and even website setup services for an additional fee on top of the hosting, domain, framework, and theme prices. With the right guidance, anyone can learn to effectively run a website and connect with others in the blogging community.
When starting a blog, it’s crucial to choose a topic that you’re genuinely passionate about and knowledgeable in. By creating content that you truly care about, you’ll be able to engage your readers and establish yourself as an authority in your chosen subject matter. Therefore, it’s recommended that you choose a topic that you’re genuinely interested in and confident about writing on.